OKTOPUS comes with a built-in image gallery relating to various topic areas. To bring an image into the lesson, click or tap it. The image can be resized, and rotated.
Hint: For more options such as cut, copy, paste, and bring forward / send backward, right-click on the image to show the Quick Tool Palette.

Importing Images
To import existing media, click the import icon at the bottom left of the gallery.
JPG, PNG, BMP, FLV, SWF, QWV and MP4 media formats are supported.
In addition, images can be imported from an Internet Explorer, Chrome, or Firefox web browser. Enter Glass Mode, and drag the image over the OKTOPUS sidebar. A thumbnail of the image will appears with a plus icon. Release the image and it will appear as an OKTOPUS object. Note: The image type must be one of the supported file types.
Adding Hyperlinks to Images
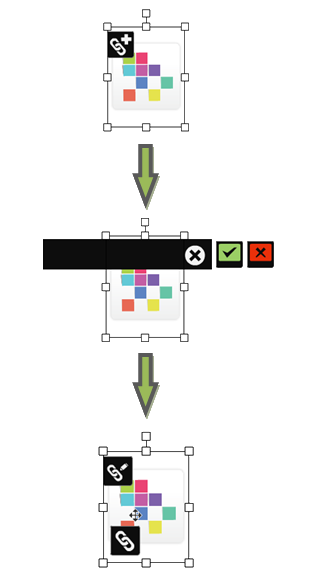
- Select the image to show to hyperlink icon.
- Click the hyperlink icon and the hyperlink area will appear.
- Type in the required web address, and tap the green tick icon to confirm.
The hyperlink has now been added. A new hyperlink icon will appear at the bottom left of the image. After selecting the image to show the hyperlink icons, click or tap this icon to launch the link in the default web browser.
Editing Hyperlinks
Use the hyperlink icon at the top left of the image to edit the link. Click the green tick to confirm the change.

The x in the white background will clear the text.
The x in the red background will remove the hyperlink.
